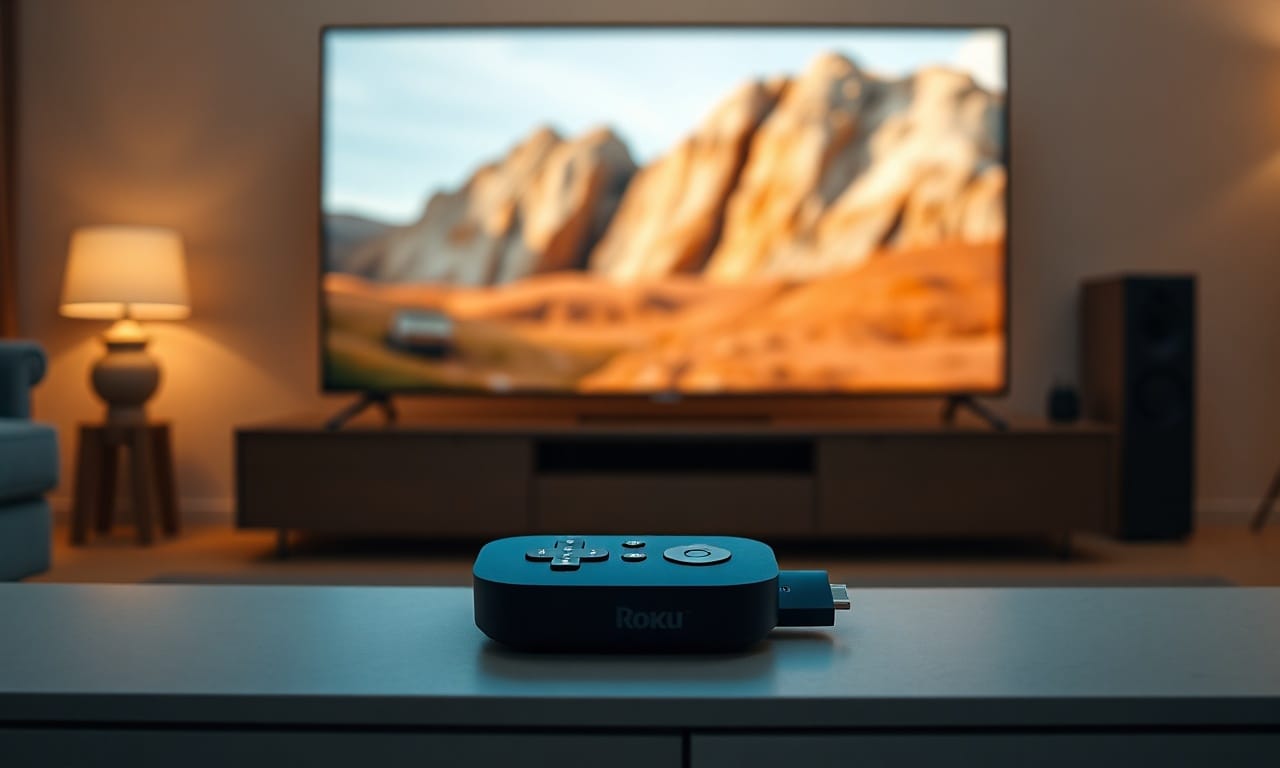
Fix Image Stretching Roku Ultra Proven Ways to Get Clear Picture
A stretched, distorted picture on your Roku Ultra can wreck a movie night in seconds—don't let it ruin your chill. In this guide I'll show you the tried‑and‑true steps to banish that stretching and get a crystal‑clear picture back. We’ll cover aspect ratio checks, HDMI tweaks, and app settings—so you know exactly what to do.
Why Image Stretching Happens on Roku Ultra
Most of the time, stretching happens because the Roku’s aspect‑ratio or picture‑size settings aren’t lined up with your TV’s native resolution. When the Roku’s signal gets misread by the TV, you'll see faces look unnaturally wide and circles turn into ovals.
- Incorrect display type – It's possible your Roku is pushing 4K while the TV only does 1080p, or vice versa.
- Picture size mode – Choices such as “Stretch,” “Zoom,” or “Full” can warp the picture, and they're far from the original look.
- Overscan settings – Certain TVs chop off the edges, then stretch what’s left to fill the panel.
- App‑specific video output – Some streaming apps ignore the system settings and they'll impose their own video output.
- HDMI handshake issues – It's often a loose cable or stale firmware that breaks the handshake between Roku and TV.
Want more Roku tweaks? Check out our Blog—you won't regret it.
Quick Settings Fixes
Begin with the easiest tweaks inside the Roku menu—often they'll fix the issue in seconds.
- Head to Settings → Display type and make sure it lines up with your TV’s resolution—you'll want 4K HDR or 1080p.
- Go to Settings → TV picture settings → Picture size and pick Normal or Direct—don't bother with Stretch, Zoom, or Full.
- If your TV offers an Aspect Ratio or Size setting, it's best to switch it to Just Scan, 1:1, or Full Pixel.
- Don't forget to turn off any Overscan or Zoom options on the TV itself.
HDMI and Cable Checks
It's a dodgy HDMI connection that can fool the Roku into outputting a lower‑res signal that the TV then stretches.
- Power down both devices, you've pulled the HDMI cable out—then plug it back in firmly on each end.
- Swap to another HDMI port on the TV—some handle 4K/HDR better than others, and they're worth a try.
- If you’ve got a spare high‑speed HDMI cable, give it a swap to eliminate a bad cable.
- Look for any HDMI extenders or switches—bypass them temporarily to see if you'll still see the issue.
App‑Specific Adjustments
Often the glitch shows up only in specific channels—it's tweaking the video output inside the app that can help.
- Launch the troublesome app, play a video, and hunt for the Settings or Gear icon while it’s playing.
- Tap Video quality or Display mode and set it to Auto or match the resolution you chose—you'll want it to match Roku’s system settings.
- If you’re using The‑ZTV Player (the free companion playback app), make sure its internal video output is on Native instead of Stretch to Fit.
- Don't hesitate to clear the app’s cache—or reinstall the channel—if the settings refuse to stick.
Need help setting up The‑ZTV Player? Swing by our Support page—you'll find what you need.
System Updates and Resets
It's stale firmware that can spark communication glitches showing up as picture distortion.
- Go to Settings → System → System update → Check now to grab the newest Roku OS—you'll be glad you did.
- Once the update’s done, run through the display type and picture size steps again.
- If the problem persists, it's a good idea to run a Settings → System → Advanced system settings → Factory reset. Just remember this wipes your preferences, so don't forget to keep your account info close.
- After a factory reset, walk through the setup wizard step by step—pick the right display type before you add any channels, you'll thank yourself later.
When to Contact Support
If you’ve run through every step and the picture’s still stretched, you might be looking at a hardware hiccup—either the Roku Ultra or the TV’s HDMI port.
- Hook the Roku up to a different TV and you'll see if the stretching travels with it.
- Plug in another streaming device—like a Fire Stick—into the same TV to check if the port’s at fault.
- Don't hesitate—if the Roku turns out to be defective, think about a warranty claim or a replacement.
- If the TV’s HDMI port’s the culprit, reach out to the TV maker or a qualified tech.
Our team’s ready to help with any streaming‑related questions. Hit us up via Support for personalized guidance.
It's fixing image stretching on your Roku Ultra—usually it boils down to matching settings, checking cables, and staying current with software. Follow the steps above and you’ll get a true‑to‑source picture that lets your shows and movies look exactly as they were meant to.
Was this article helpful?
Written by Alan ziegler
Content Editor at TheZTV. Passionate about bringing you the best IPTV guides, streaming tips, and industry news.
Join the TheZTV Newsletter
Get the latest IPTV guides, cord-cutting tips, and industry news delivered straight to your inbox. No spam, just value.